
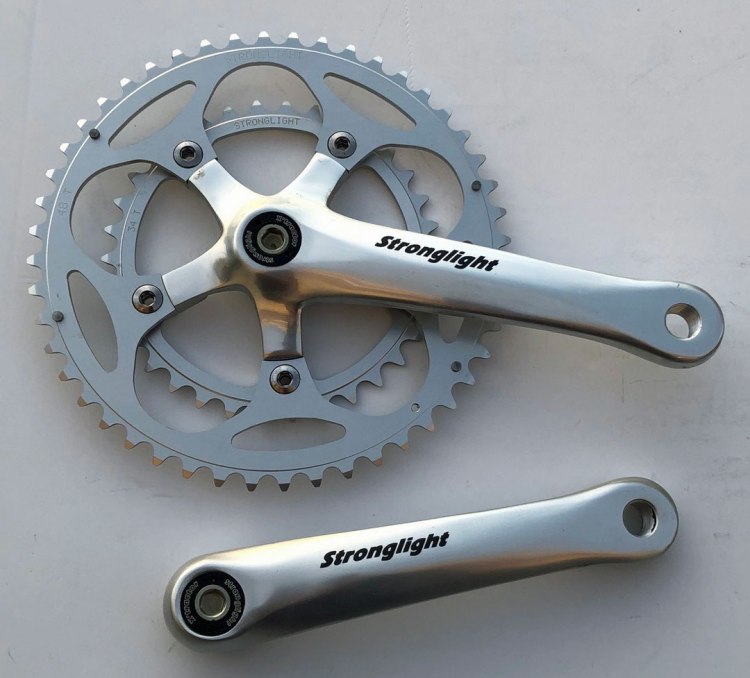
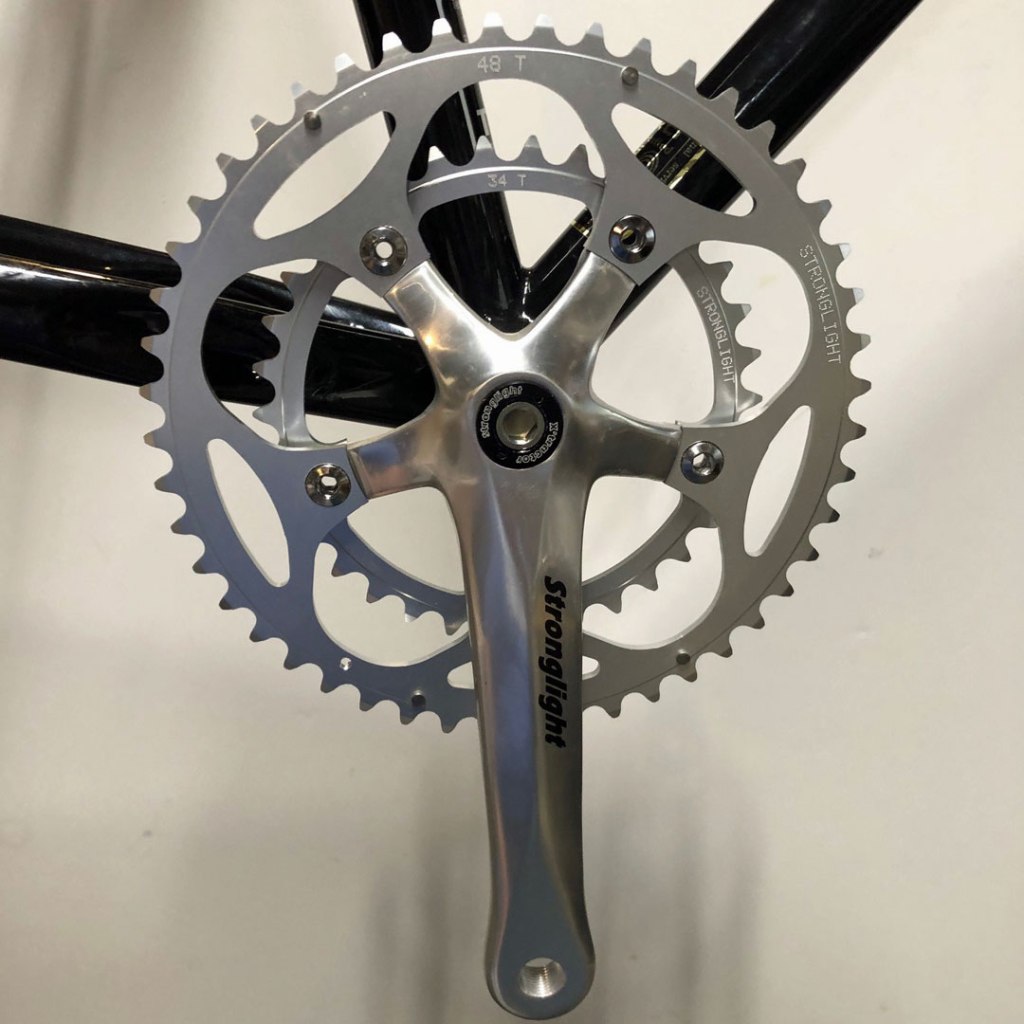
Today we are going to install a square taper crankset, specifically the Stronglight Impact Double crankset. It’s a fairly straight forward process.
What you need:
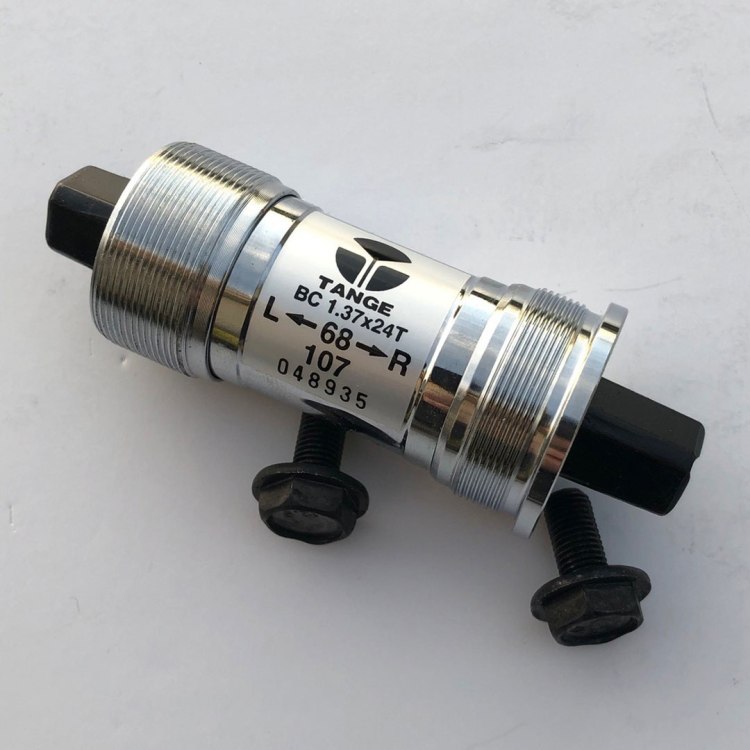
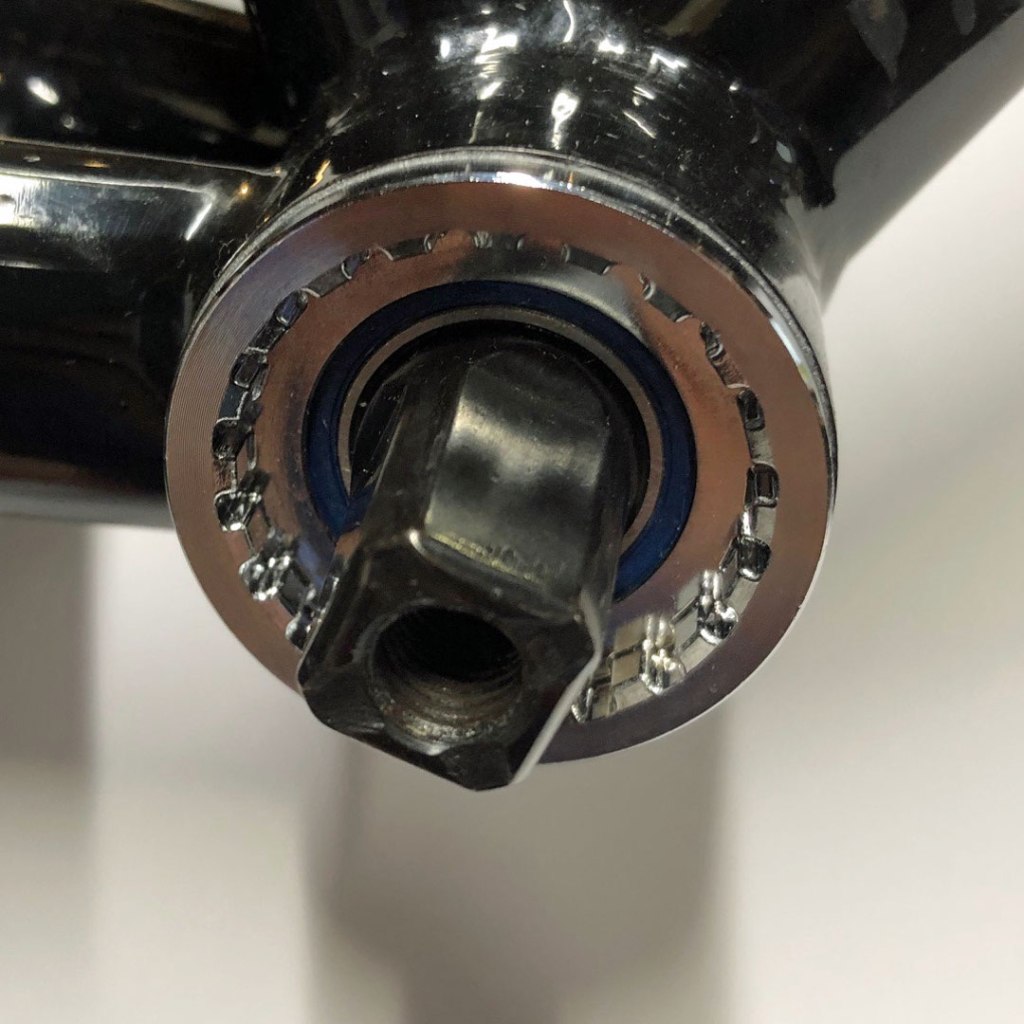
- Square taper crankset with a square taper bottom bracket installed. Make sure the bottom bracket matches the crankset. It should have the correct width and taper, the Stronglight is a JIS taper and 107mm spindle width. JIS will be the most common taper, but there is also ISO.
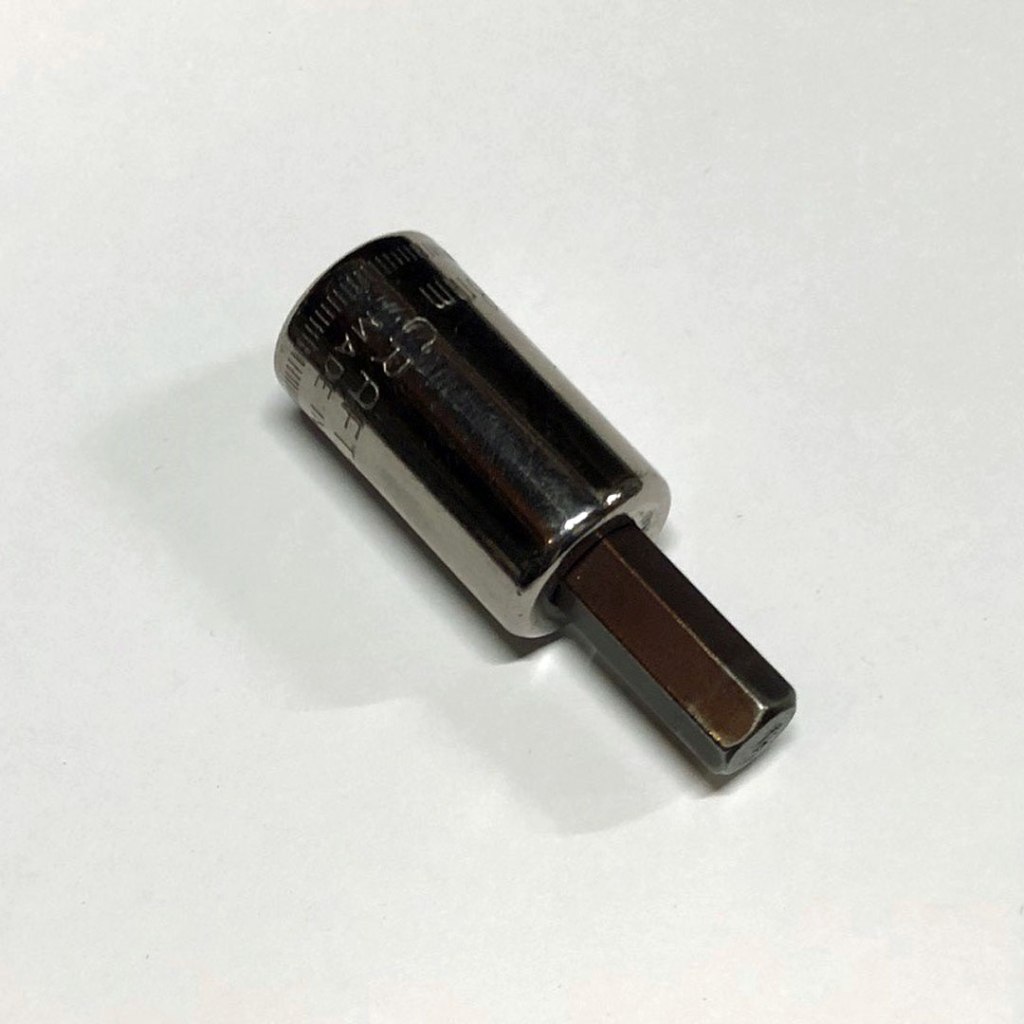
- 8mm hex socket for the Stronglight Impact. Other cranksets may require a socket and use a regular bolt with a cover.
- Torque wrench. I think it is very important to get the right torque.
Do you use grease or anti-seize?
There is much debate on the internet on whether you grease the spindles and/or the bolts when installing a square taper crankset. I asked the shop where I purchased the crankset and they said Stronglight says dry fit. No grease on the bolt or the spindle. This may be different for other cranks, I believe Campagnolo also says dry fit, but some others recommend greasing. My main concern is that it doesn’t loosen while riding. Given that the crank is anodized aluminum I don’t think removal will be an issue.
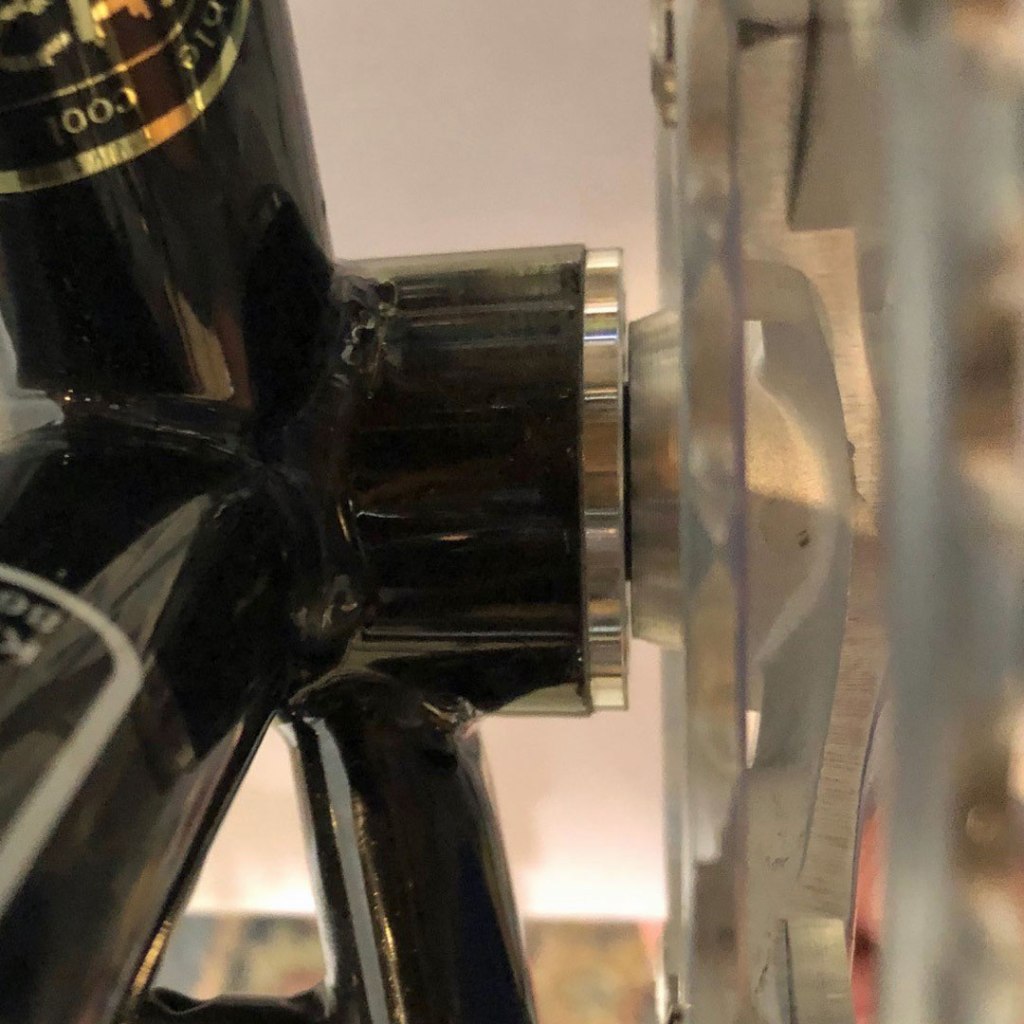
Step 1
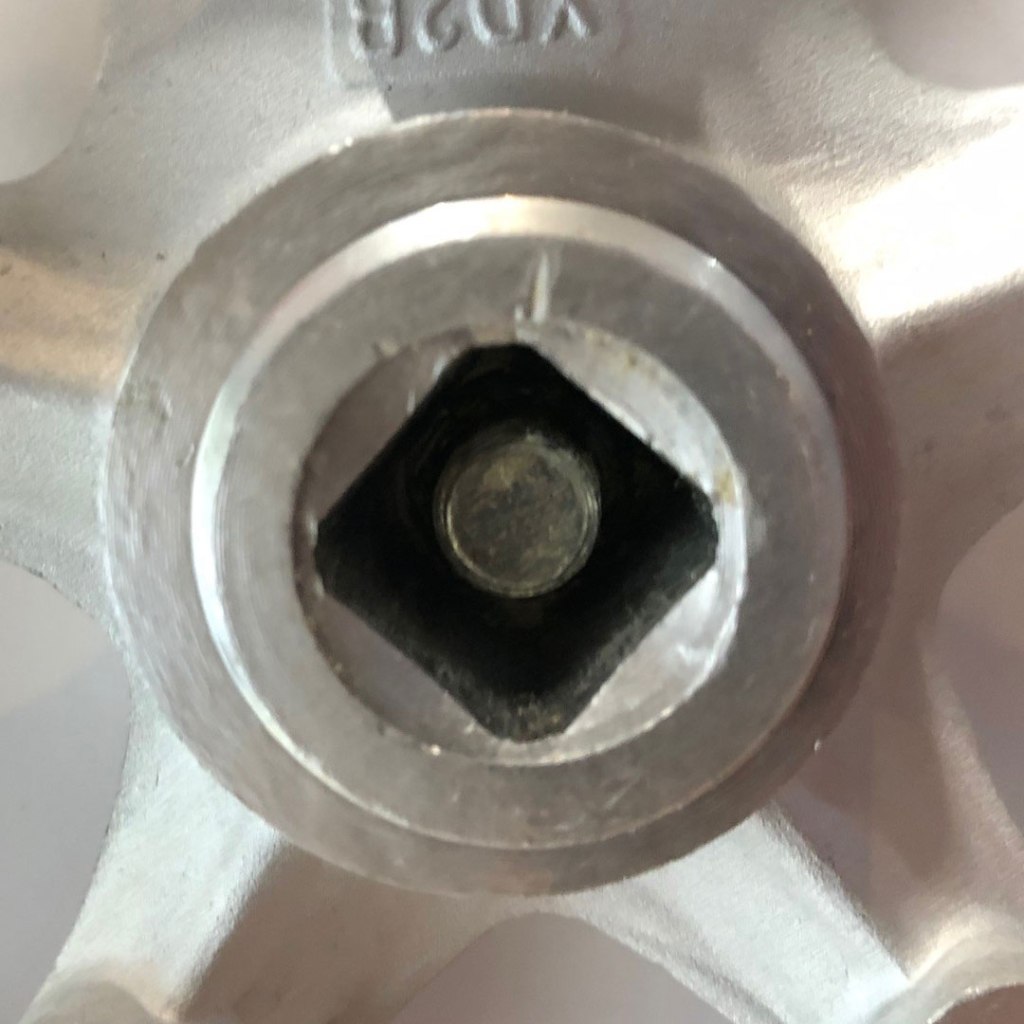
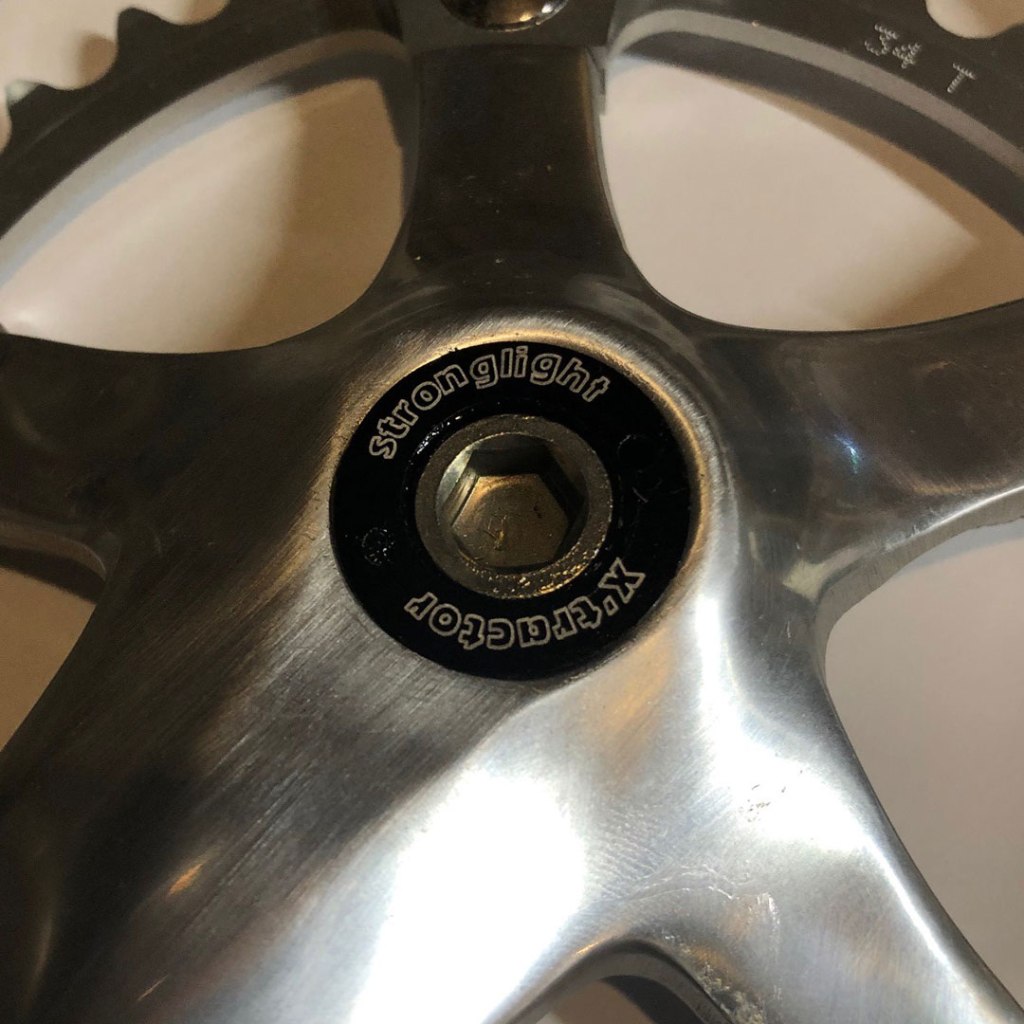
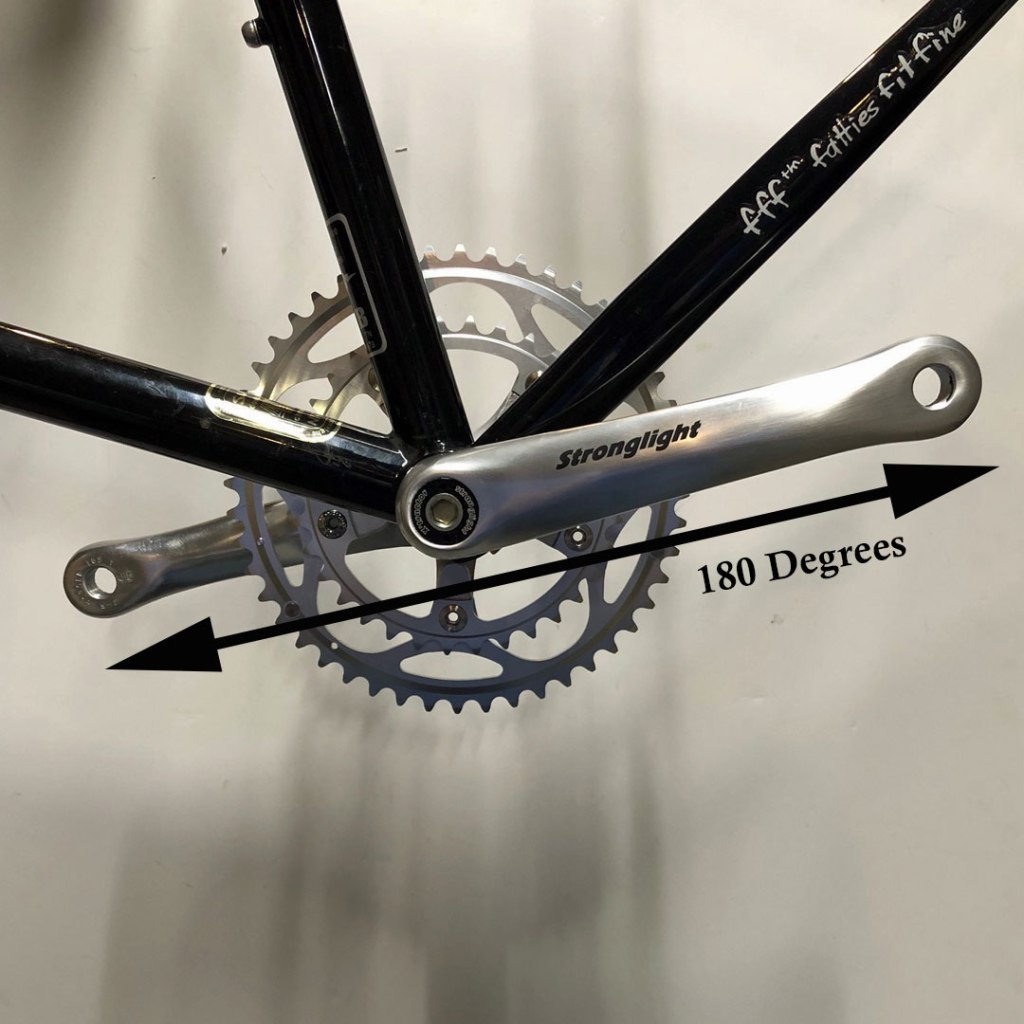
The crank arm has a square shaped hole that goes over the bottom bracket spindle. In the case of the Stronglight it also has the bolt installed. Other crank arms may have a regular bolt used with a cap that is installed to cover it. I started with the drive side and used the hex socket to hand tighten the crank arm onto the spindle. It goes on pretty far before it starts to feel tight. Be sure to install the chainrings on the right(drive) side of the bike. Make sure the non-drive side crank arm is installed 180 degrees relative to the drive side crank arm.

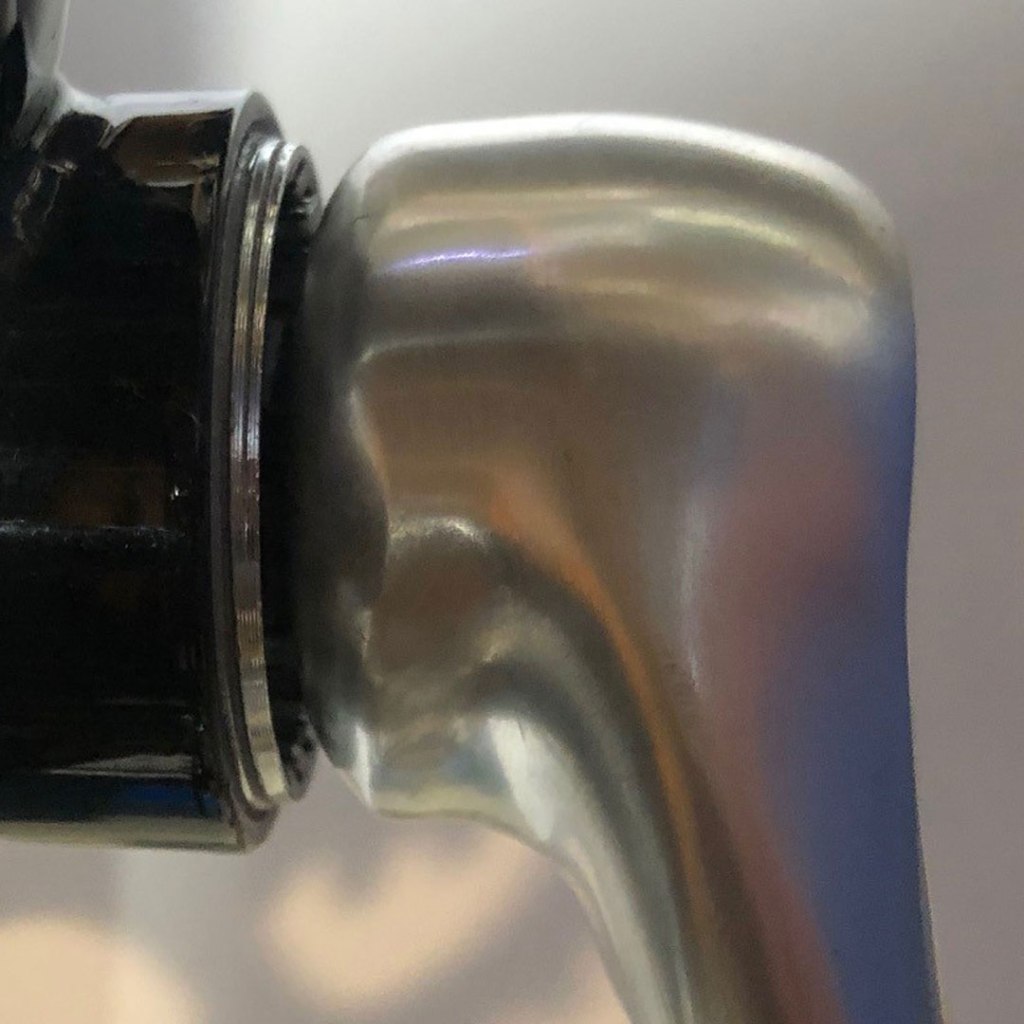
Step 2
Time to torque the bolt. For the Stronglight the shop said 40 Nm. Other cranks will vary, so be sure to find out what the torque setting is. I read examples of crank arms coming loose, and I think the main reason was always not properly torqued. It’s a press fit, so proper torque is very important. 40 Nm is pretty tight, I held the arm while tightening with the torque wrench until I reached 40 Nm. Do this for both crank arms.
Now you should have an installed crankset, mine spins really nice and free with the Tange Seiki LN 3922 bottom bracket. Removal should just be loosening the bolt as the Impact crankset has X’tractor bolts. Other cranks will require an extractor tool for removal.

I enjoyed reading this and
I appreciate your hard work!. I know You have an impressive grip on this topic!.
💞
LikeLiked by 2 people
Thank you.
LikeLike
This post makes me miss my tomboy days on my BMX bike with my brothers, racing up & down dirt mounds, lol.
LikeLiked by 2 people
Sounds like a good time
LikeLike
Those were the good ol days 😊
LikeLike