
You have decided you want your bike handlebars to be a bit higher or lower, or perhaps you want to flip your stem. I’m going to show you all the different options below.
First
Be sure you are doing these with the tires on the ground, not up in the stand. Once you loosen the cap and stem the fork would otherwise fall. So, you will want to do this with the tires on the ground. You should be able to adjust the stem without removing the handlebars from the stem.
Raise Handlebars
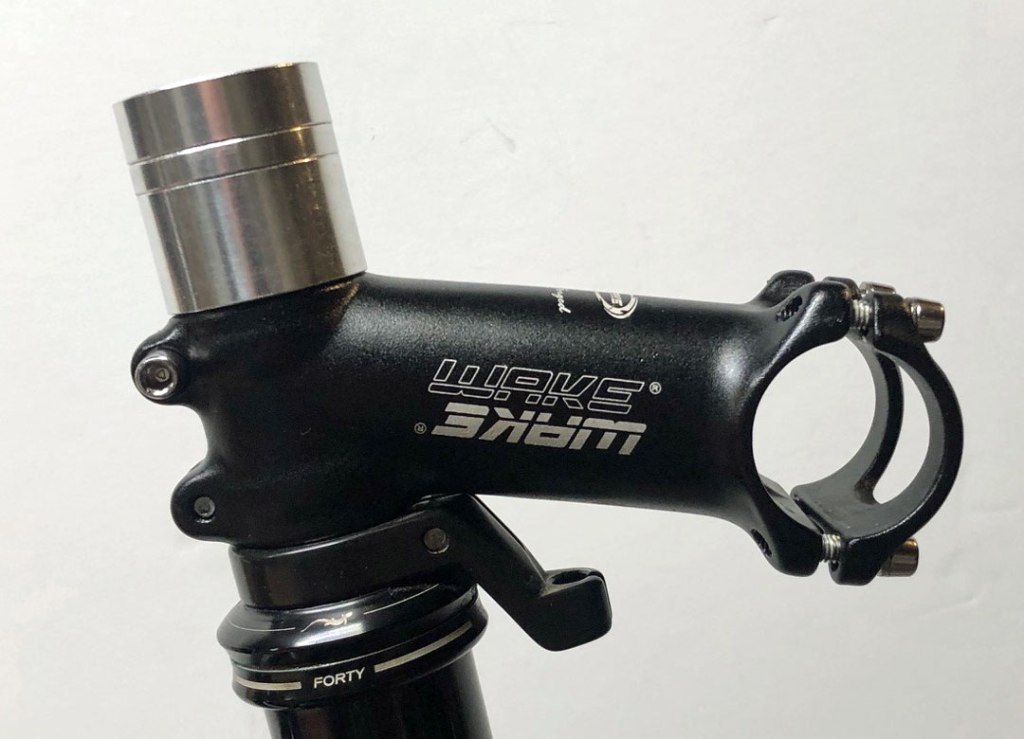
There are two options for raising the bars with a threadless headset and stem. Let’s just say your stem starts out looking like this:
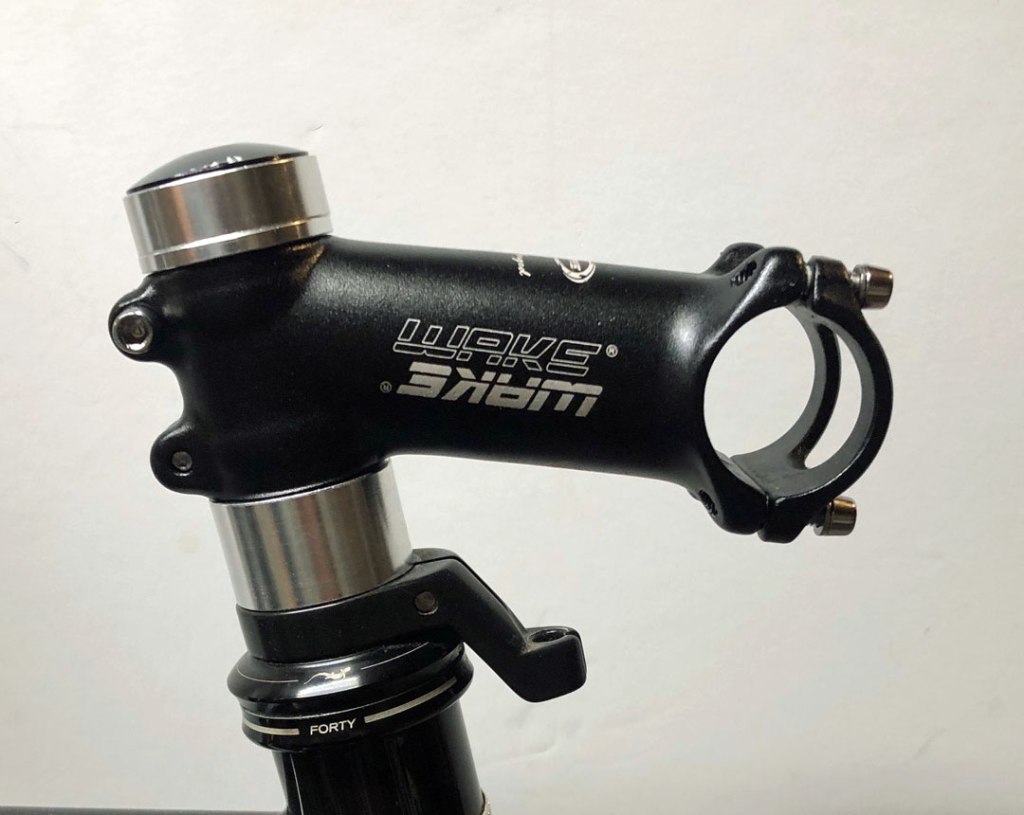
Now you have two options to raise your bars a bit. We can move the spacers below the stem and we can flip the stem, or both. If you think you just need a small change start with the spacers. If you want to move the bars up a lot do both.
Step 1
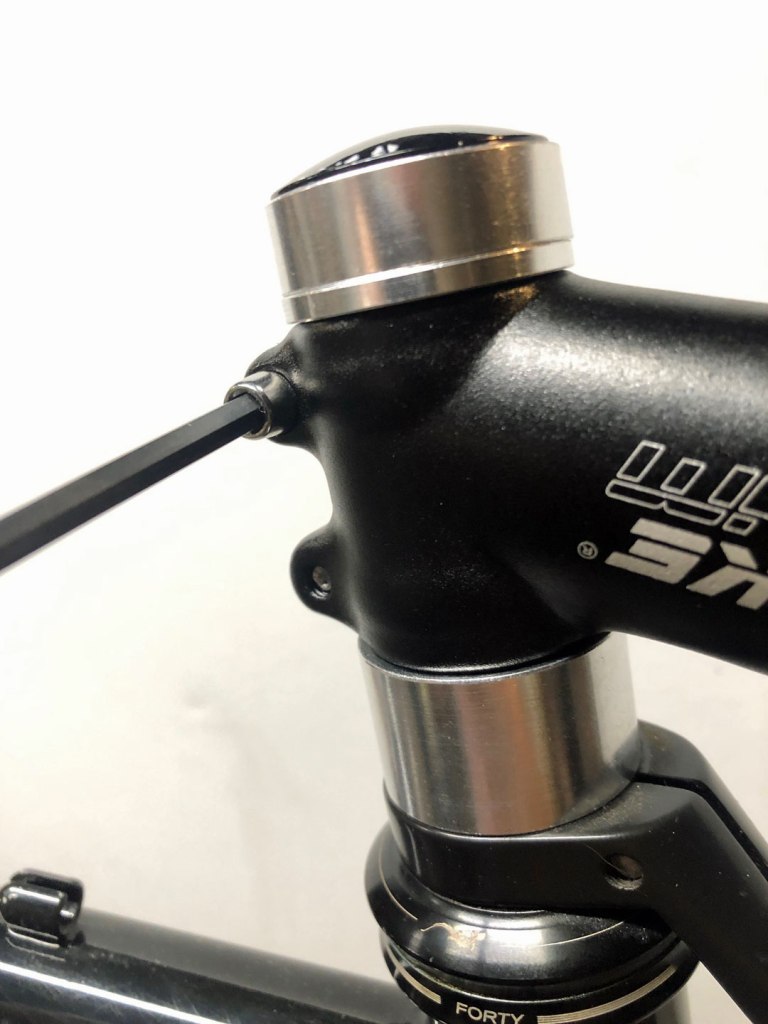
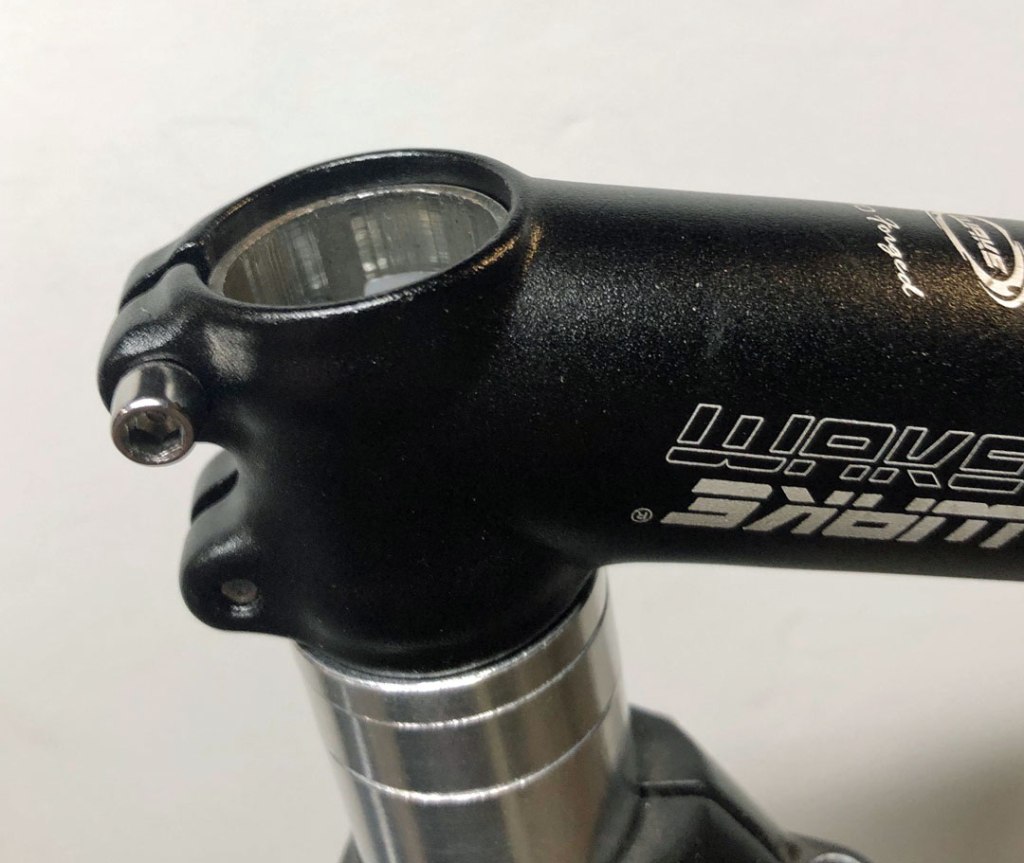
With the tires on the ground loosen the stem cap and remove. Then you will loosen the two bolts on the stem that clamp to the fork steerer.

Step 2
Now with everything loose, you can remove the stem and move the spacers. Be sure that either the stem itself or a spacer is about 3mm higher than the steerer tube.

If you want to go even higher you may also be able to flip your stem like this:
Lower Handlebars
You can lower the handlebars by doing the opposite of above.
Step 1
With the tires on the ground loosen the stem cap and remove. Then you will loosen the two bolts on the stem that clamp to the fork steerer.
Step 2
Now with everything loose, you can remove the stem and move the spacers over the stem. Be sure that either the stem itself or a spacer is about 3mm higher than the steerer tube.


If you want to go even lower, you may also be able to flip your stem like this:
Tighten Stem
Now that you have adjusted your stem, you will need to tighten it back up.
Step 1
Apply grease to the top cap bolt threads and install so it is just a little snug. Lift up the front wheel and test how it turns. It should turn freely. If steering feels tight, loosen the top cap. There should not be play in the headset.
Step 2
Tighten the pinch bolts on the stem to the steerer tube. Make sure the wheel and handlebars are straight. A typical torque for these bolts is 4-6 Nm. Sometimes the torque spec will be on the stem itself.
Step 3
Test that the headset is not too loose. With the wheels on the ground hold the front brake and rock the bike back and forth. There should be no play in the headset. If you feel play, loosen the pinch bolts and tighten the top cap. You want the bars to steer freely with no play in the headset. Follow the above instructions to retighten the pinch bolts.
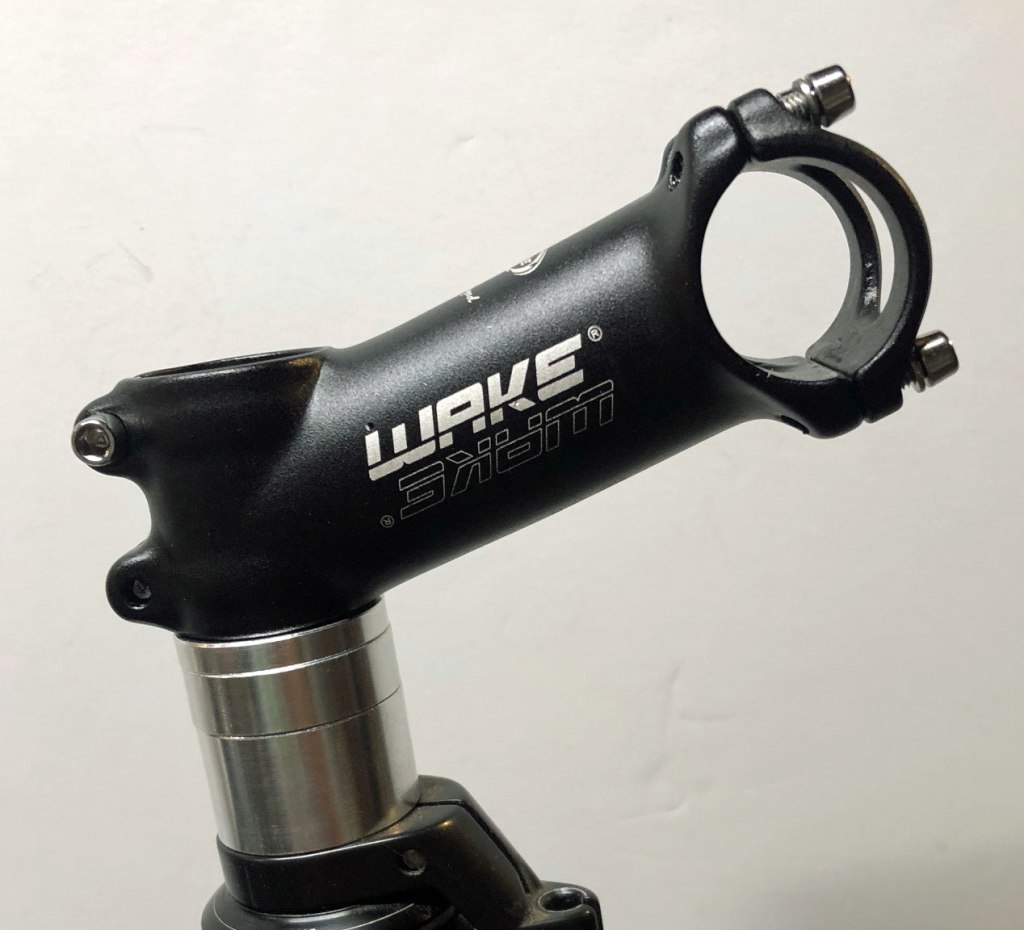
Now that you have tested that everything is working, ride the bike and see how you like your new bar position. If the above isn’t enough to make you comfy, you can buy a different stem. They come in different lengths and angles. The one in the pictures about is 90mm long and 17 degree angle.

these same tools are also available at home depot under other brands like Gorilla and dewalt one thing to note, on bolts with high torque it’s much better to buy a more expensive tool. these inexpensive ones will round out the bolt head and end up costing more money.
LikeLike
I would recommend buying the Park Tool version and supporting a company that creates lots of videos and info to help us do repairs.
LikeLiked by 1 person
Fair point. I’d recommend buying the Gorilla tool (aka Bondhus) made in the usa and measurably a better and longer lasting tool (not tapered & better steel )for a small amount more. Even on amazon!
LikeLike