
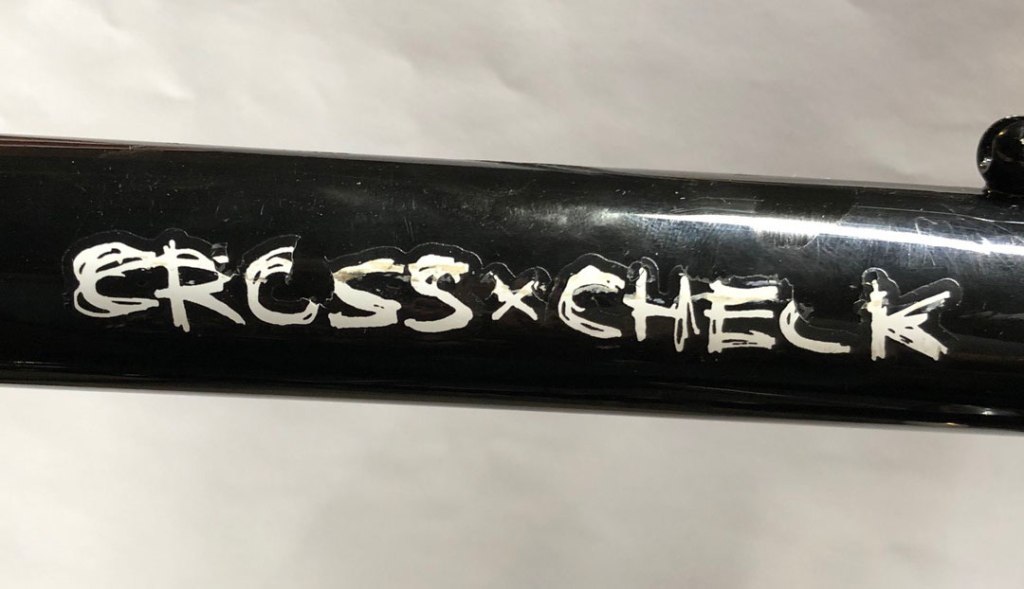
Today I’m going to show you how I remove and replace the stickers on a Surly bike. Here is my Cross Check decal that isn’t looking so good:
Here is a brand-new decal:
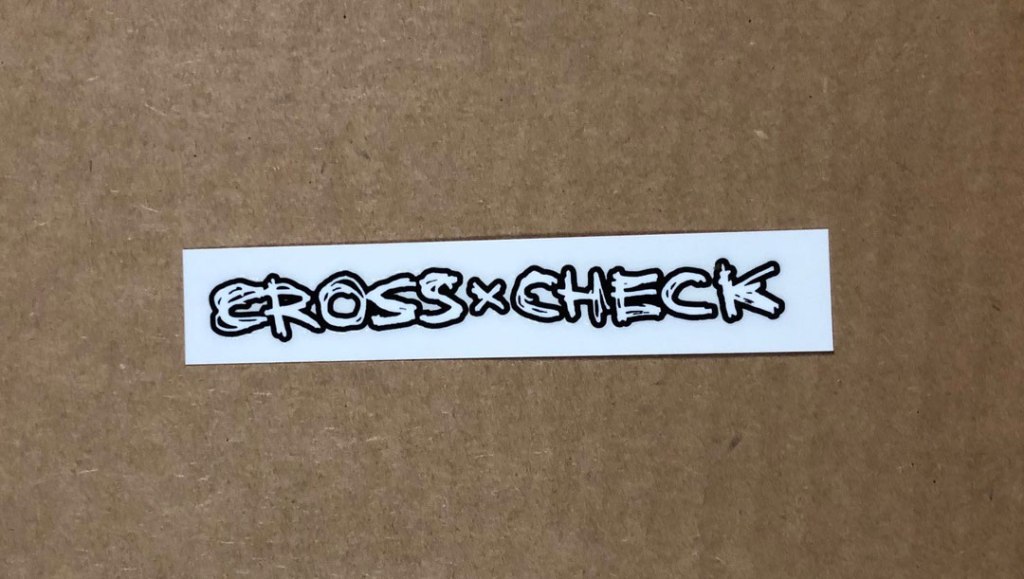
It comes sandwiched between a rectangle shaped paper and clear plastic sheet.
Step 1
Mark for where the new label is going to go. I place the new sticker over the old and mark on the left and right side with masking tape. Make sure it’s nice and flat when you start pressing down, you don’t want any wrinkles or bubbles.


Next, I line the decal up and down and mark the top corners of the decal on the masking tape.
Step 2
Now that I’m confident I can line up the rectangular label with my masking tape it’s time to remove the old decal. Per Surly you heat up the old decal with a hair dryer and then scrape it off with something like the edge of a credit card. You can’t use something too hard, or you will damage the powder coating. After heating up, the edge of a credit card worked great for me.

After you are done scrapping there will be some residue leftover. I used a microfiber rag and isopropyl alcohol to wipe that up till it was nice and clean.
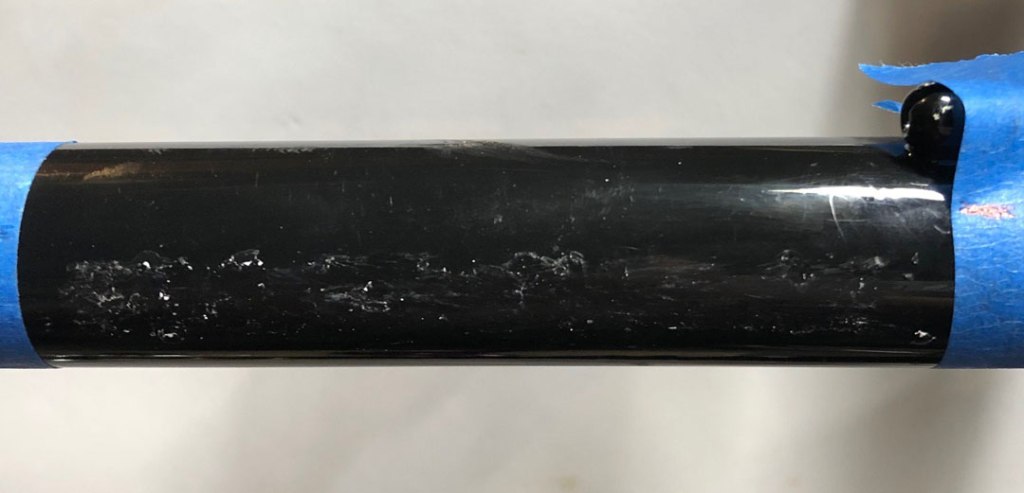

Ignore the weird reflections in the picture, it’s clean. Make sure there is no residue of the old label or your cleaning product before moving to step 3.
Step 3
Now it’s time to apply the new label. The first step is removing the paper backing. You will be left with a clear plastic rectangle with the decal on it. The sticker adhesive is on the side that was facing the paper. Using the masking tape as markers, you center the rectangle and then press the decal down. Rub it for a while till you are sure it’s on.

Step 4
Now you just peel away the rectangular piece of clear plastic and the label will remain on the frame.

Here is the new sticker:

Looks pretty good and wasn’t so hard to do.
Tip: I ended up with a wrinkle on the L of the big Surly decal. I took a chance and heated it up with the hair dryer and pushed out the wrinkle. Worked great for me but be careful.

You can also make custom decals that you print at home. Having your name on your bike makes it look personal. Or you can put anything you want there. The printable decal sheets that come in the kits are not waterproof – they are water transfers like temporary tattoos. You may need to clear coat over them (or you can be prepared to replace them if you ride in the rain a lot and/or don’t want to mess with clearcoating yourself).
LikeLiked by 2 people
Cool idea
LikeLike