
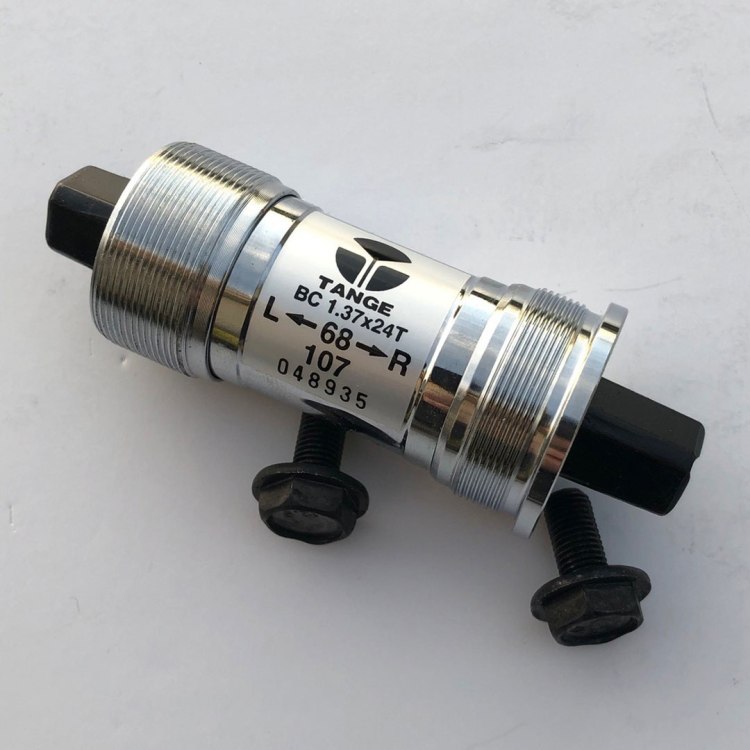
Today we are going to install a sealed cartridge bottom bracket, specifically a Tange Seiki LN 3922. The process should really be about the same for at least most other sealed cartridge bottom brackets. Shimano will be the same.
What you need
A new bottom bracket
Anti-Seize Lubricant or grease
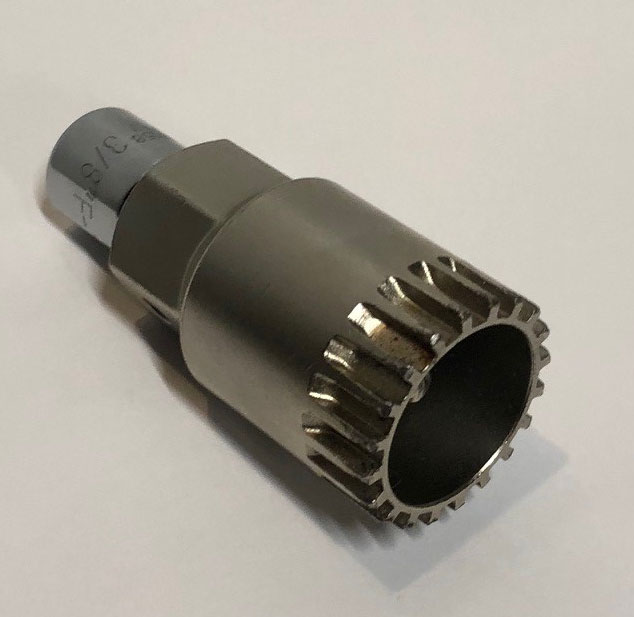
Bottom bracket tool like the Park Tool BBT-22
Ratchet for the bottom bracket tool
Preferably a torque wrench for the tool

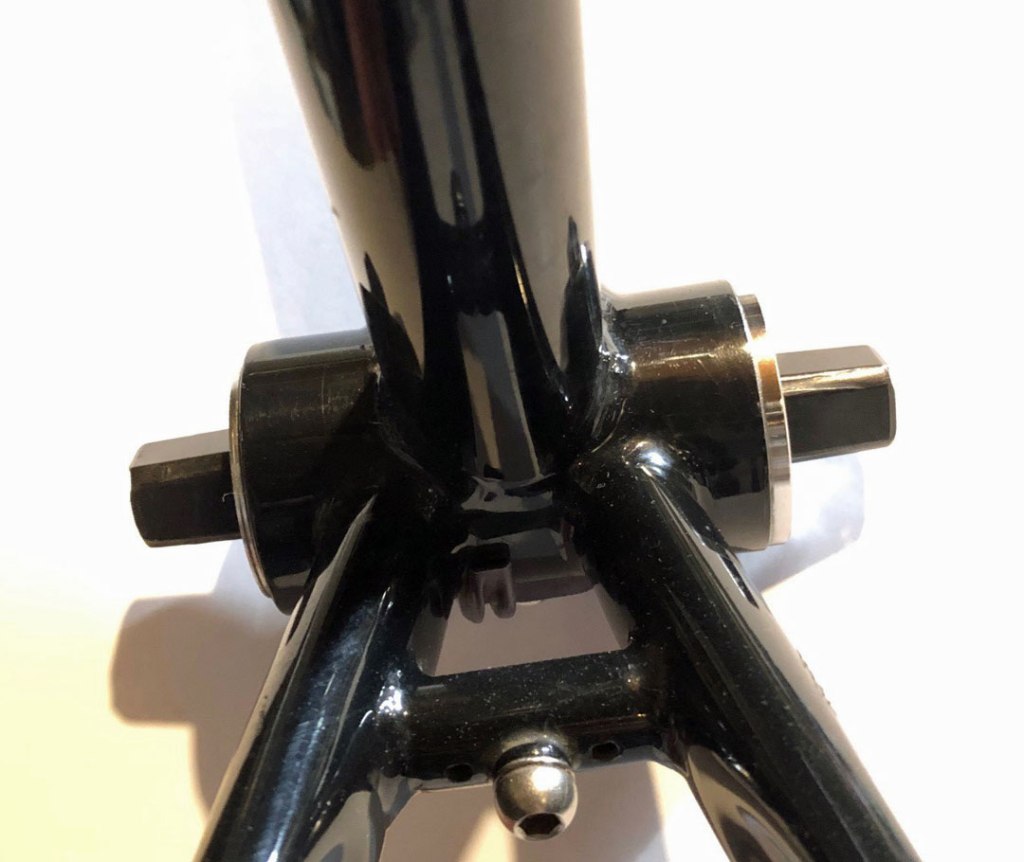
Step One
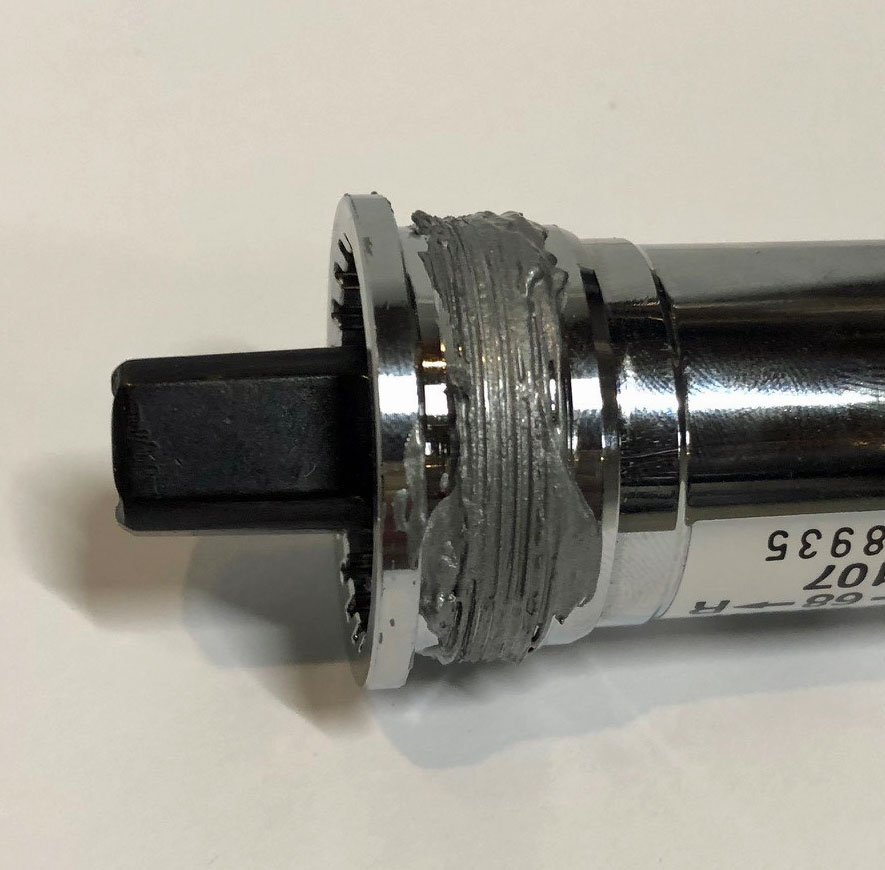
Grease or anti-seize the threads on the drive side of the BB, it may be marked with an R pointing to that side. It will be the side that isn’t the removable threaded sleeve.
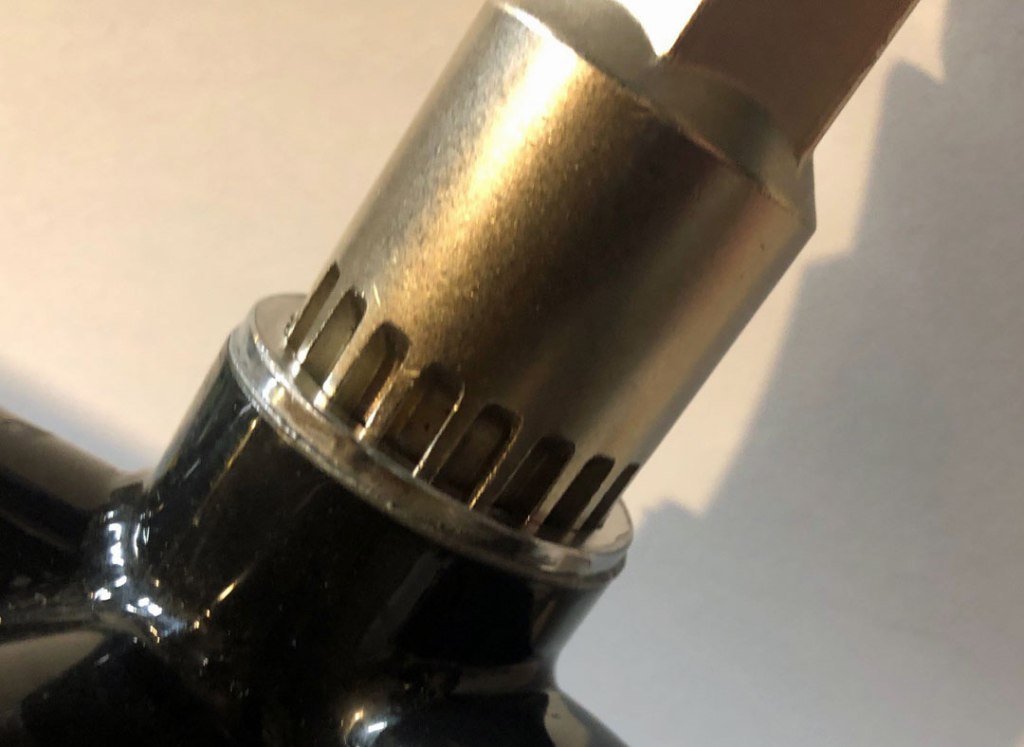
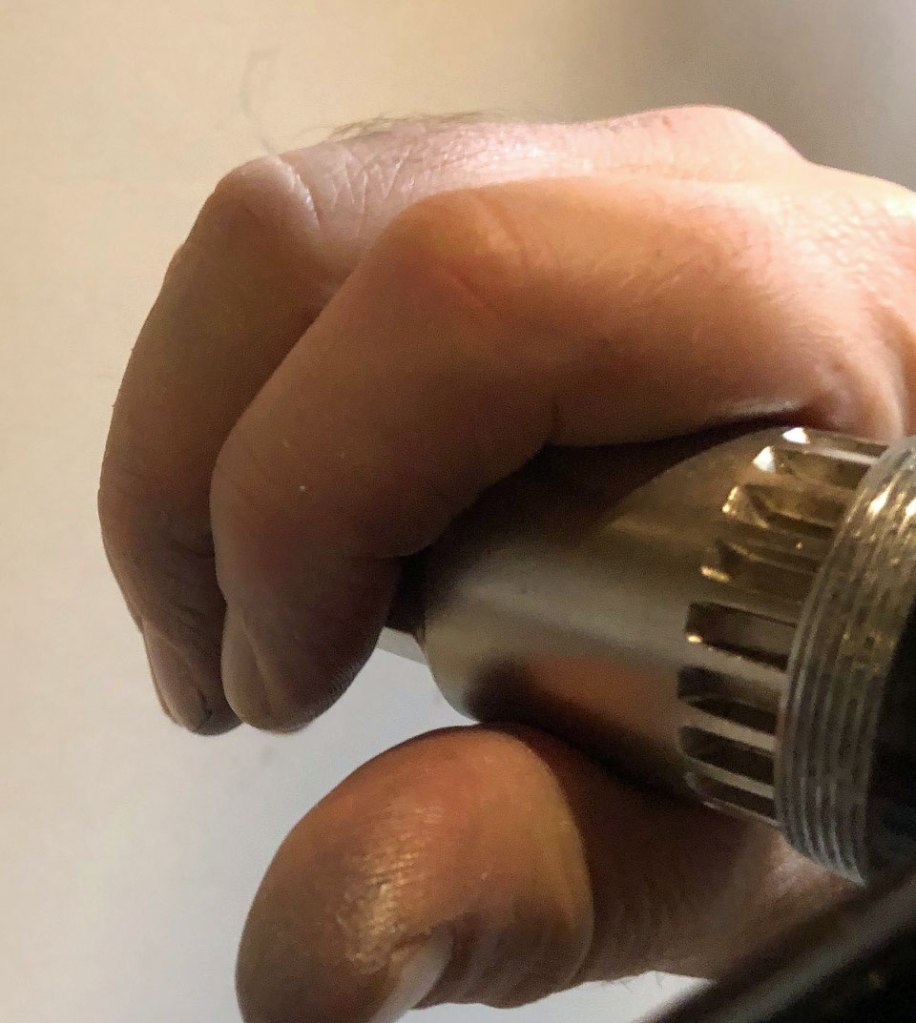
Now you will gently hand thread the bottom bracket into the drive side of the bottom bracket shell. If it’s a Japanese BB it will screw in counterclockwise, so the opposite of what you are used to for tightening. Use your hand until you are certain it is threading well, and it becomes too hard to use your hand. You do not want to damage the threads on the shell.

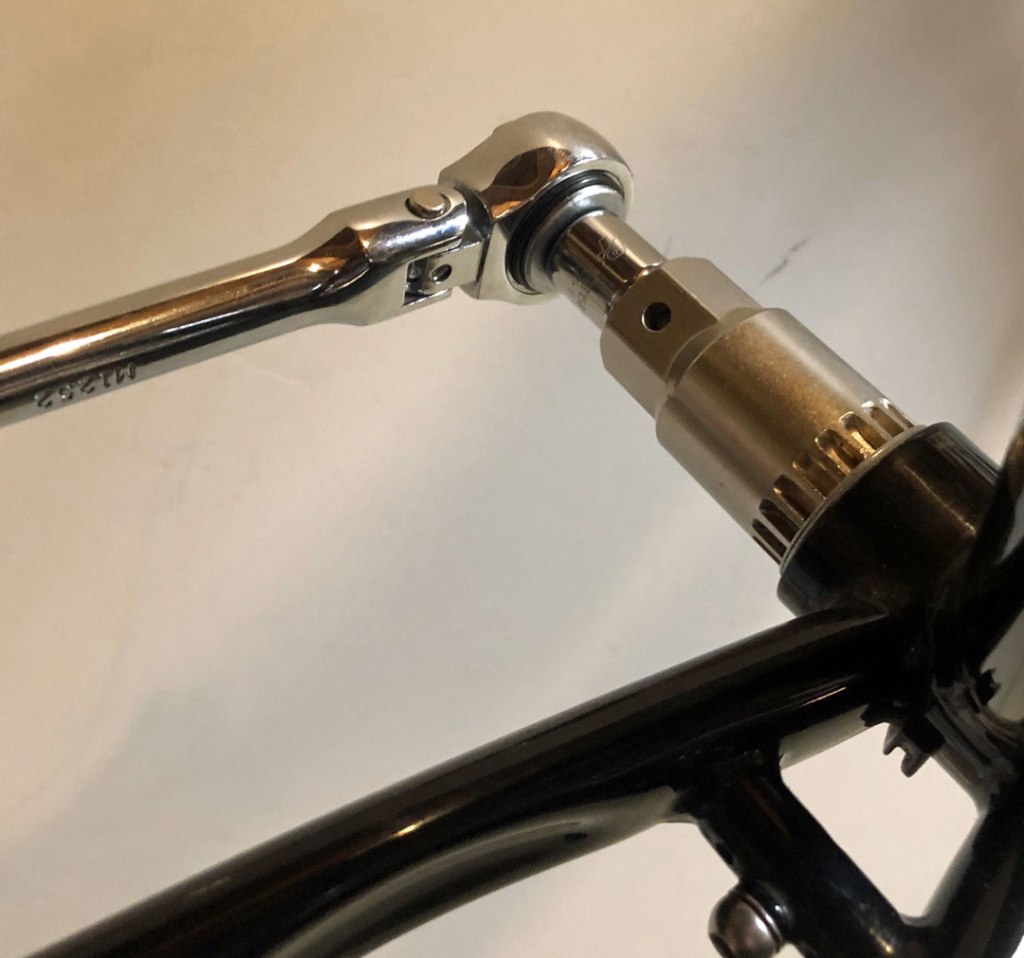
Next you use a ratchet to get it in till you feel it’s getting a little snug. Now you should switch to the torque wrench. I couldn’t find the exact spec for this BB but based on others I decided to go 40 Nm.

Step Two
Now that the drive side is in, you will take the threaded sleeve for the non-drive side and grease it also.
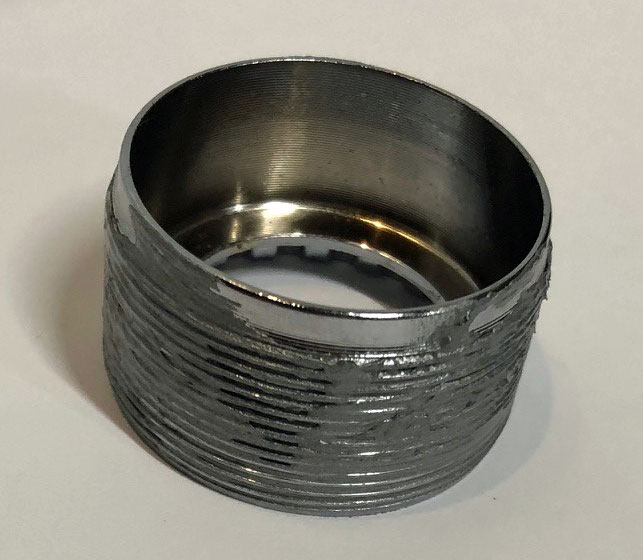
Gently thread it into the shell, this time it will be clockwise. After you are certain it’s threading well, use the ratchet and then the torque wrench like step one.
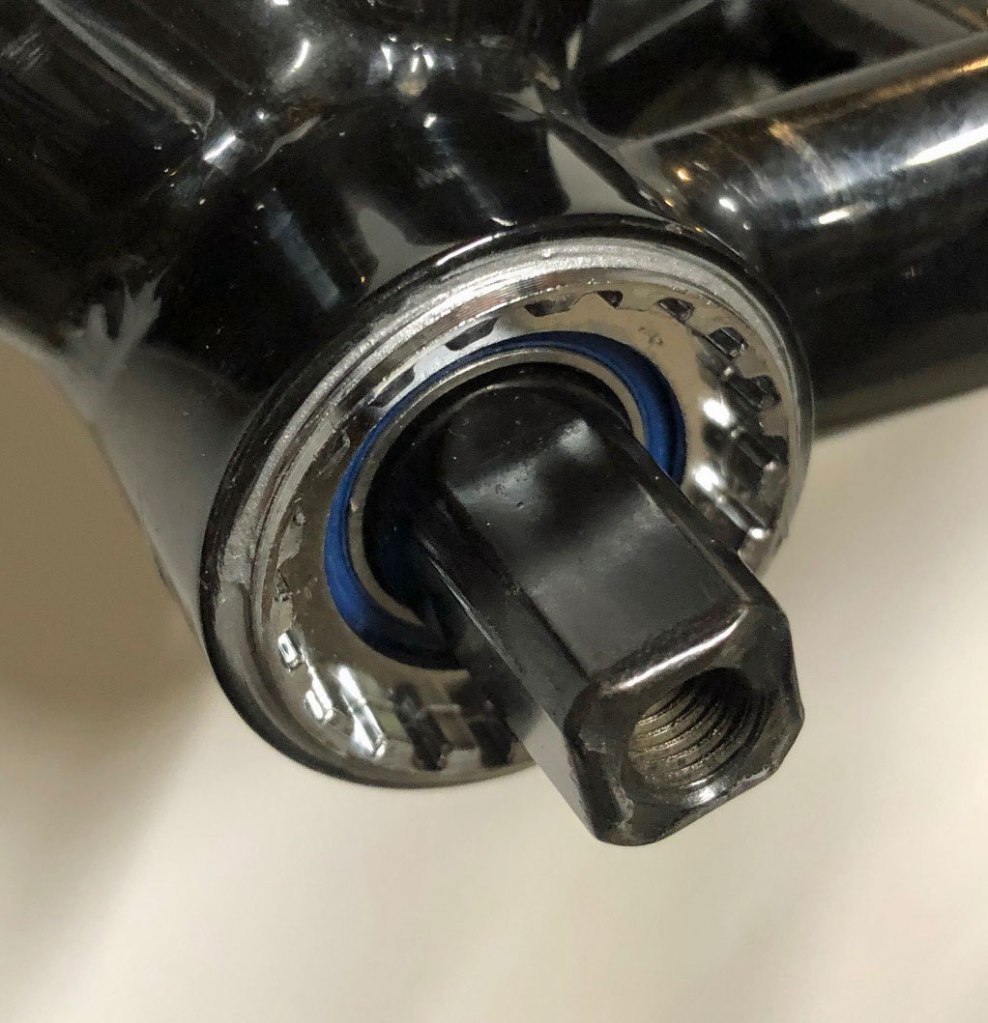
Now you have an installed cartridge sealed bottom bracket. Yay! Next you will install your crankset.
I am starting with just a frame, if you need to remove your old BB, the procedure is the reverse of above.
Here is a great video you can also use for reference, it also explains how to remove the old BB:

Thanks for including pictures that are in focus. Sometimes I will see close-ups in how-tos that are fuzzy. I also like that you warn people to hand tighten to be sure they didn’t cross-thread it.
LikeLiked by 1 person
I retook a few. 🙂
LikeLiked by 1 person