
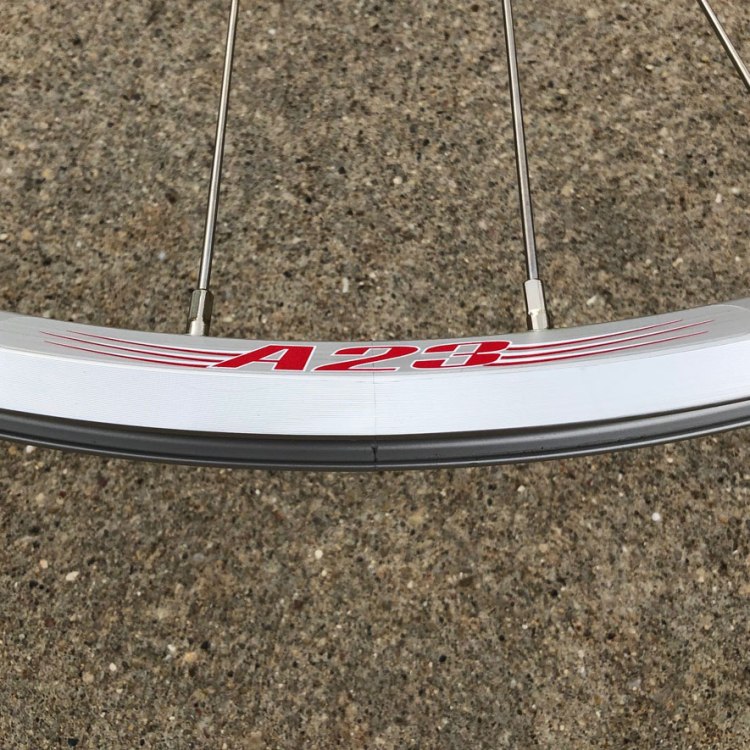
I decided to go tubeless with my Surly Cross Check. Since it’s my first time I did a lot of research. My Velocity A23 wheels are tubeless compatible rather than ready, so they need to be set up.
What you need
Tubeless rim tape
Tubeless valves
Valve core remover
Tubeless Sealant
Sealant injector
Tubeless ready tires
I’m using the Velocity tubeless kit with Stan’s sealant and American Classic Torchbearer tubeless ready tires. The kit comes with tape and valves with some nice instructions that I followed for setting up. I purchased the KOM sealant injector to keep things clean, it also came with a nice valve core remover. You don’t need the injector, but it sure helped.
Velocity Tubeless Kit – AMAZON


Step 1 – Clean rim surface
Remove stickers from the rim surface where the rim tape goes. Clean the rim surface with a clean rag and isopropyl alcohol. You want to remove any residue or moisture from the rim, so the tape sticks well.
Step 2 – Apply tape
Apply the tape to the center of the rim starting at the joint which is the opposite side of the valve hole. You will want to pull the tape quite tight, so it seats with no air bubbles. You will want to go around the rim twice, I had plenty of tape leftover.

Step 3 – Cut tape
After going around the rim twice you will go past the seam by 2 or 3 inches and cut the tape with scissors.
Step 4 – Remove any air bubbles
Use a clean cloth to rub around the tape removing any air bubbles. I had a few with the first rim I taped, but I was careful to pull the tape tight the second time and had only one air bubble to remove.
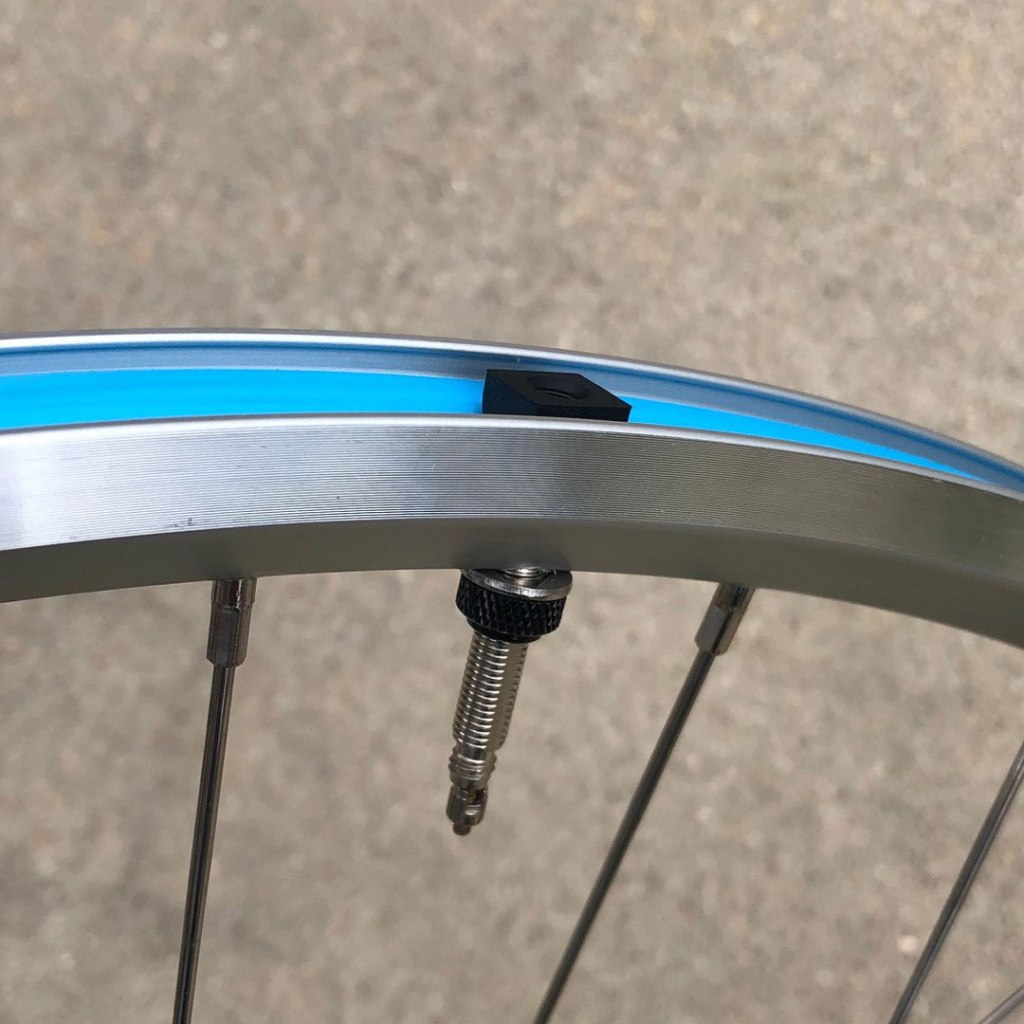
Step 5 – Install valve
Use a Phillips screw driver or other sharp object to push through the valve hold from the outside. I used a sharp ended round file. Next you push the valve through the hole and tighten the locking nut. I only used the metal washer; the nylon washer is for really shallow rims. Here is a video from Velocity:

Step 6 – Install tire
Now you want to put your tubeless tire on the rim. Make sure the beads are on the sides of the valve. I used my bead jack tool at the very end.
Step 7 Dry Seat
Next you want to dry seat the beads to make sure everything seats easy after adding sealant. I used a Schrader adapter and my air compressor for this as I had no luck with the pump. Be very careful that the beads are on the sides of the valve. With a little fiddling I got it to hold air with the compressor and then I went to my hand bike pump. After inspecting that the tire looked on well, I slowly inflated up to 70lbs, these tires max at 75lbs. Make sure the bead is seated properly all the way around on both sides. My tires held decent pressure for about a day without sealant.
Step 8 – Add sealant
Now it is time to add the sealant. I hung my wheel from my bike stand with the valve at the bottom. After releasing all the air from the tire, I removed my valve core. Now I filled my KOM injector tool with 2oz of sealant and then put the tube deep into the valve and slowly injected. Now I pulled out the tube and replaced my valve core. Since I had dry seated it I was now able to easily pump it up with my hand pump. Pumped it up to 70 psi and checked all my beads were seated properly. All good, really glad I dry seated.
Step 9 – Move the sealant around
Now I first bounced the tire in front of me as I spun it around for a while. Then I sort of spun it like a top flipping which side was up. You just want to move it around in ways that makes sure the sealant gets all over the beads. Then I let it sit for a bit.
Step 10 – Install and ride
After doing both tires, I then installed them on my bike and took it for a slow gentle ride. I must have done things right as they seem to be working fine.
So that’s how you can make your Velocity rims tubeless. It was a really clean install for me, and I had no mess which I was worried about. Now I gotta put some miles on.

2 thoughts on “Setting up Velocity A23 wheels for tubeless”